Options
My First Time Brewing From Grain - Pale Ale (with pics)
 marko
Administrator Posts: 76
marko
Administrator Posts: 76
I've been home brewing for 2 and a half years now, in that time I've probably done over 20 kits. As great as some of the kits are, and being inspired by a recent trip to the black sheep brewery, I've decided to take it up a level and try making my own beer from scratch. I've decided to go for a simple pale ale recipe to start of. I didn't really read up much on how to do it, so i was guessing/experimenting for most of the process. Which i think is the best way to do things.

Greene King Style Pale Ale 3.4%
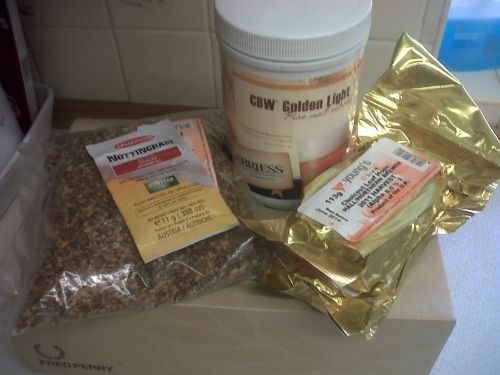
1500gm Briess CBW Golden Light (top extract)
500gm Crushed Crystal Malt
500gm Brown Sugar
50gm Northern Brewer
60gm Goldings
Notts Yeast
The only additionally equipment I needed was a huge pan. Next time I brew from grain I'm going to get myself a nice electrim mashing bin to make things easier, quite a lot of money but a nice piece of kit. It was pretty tricky at times using the very basic equipment.
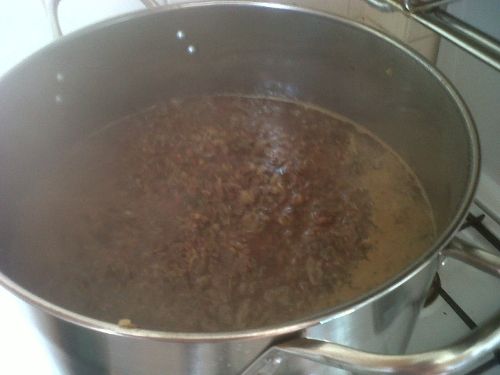
So all I had to do was get 11 litres of water to the boil and throw the Malts, hops, sugar and a teaspoon of Irish Moss (copper finings i think) in and boil for 45 minutes. The smells that were produced were amazing and filled my entire house with a fresh malty, hoppy fragrance that lasted for a couple of days.
Top Tip - Next time I am definitely using a grain mashing/sparging bag as it was a right pain in the arse separating the grains and hops from the wort.
After 45 minutes I was left with a chocolaty porridge. Now I had to sieve the contents into my fermenting vessel leaving the grain and hops behind (wishing i did it in a grain mashing bag at this point). Then you pour a couple of kettles worth of boiling water over the grain and hops to wash the remaining essential sugars into your vessel (this is called sparging).
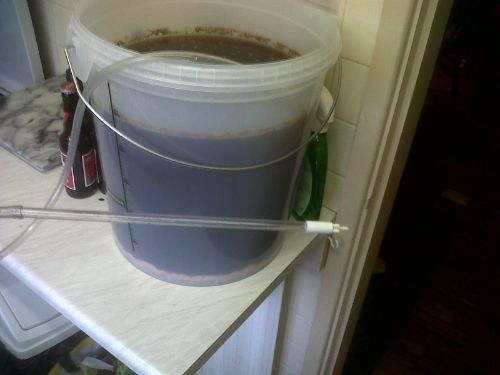
Top up with Cold Water, leave till room temperature and pitch the yeast. Left fermenting for 6 days till i achieved a constent reading of 1.008 which worked out at 3.4% (spot on).
Racked of into another vessel and added BeerBrite finings, left for another 5 days. Now its time to keg/bottle up.
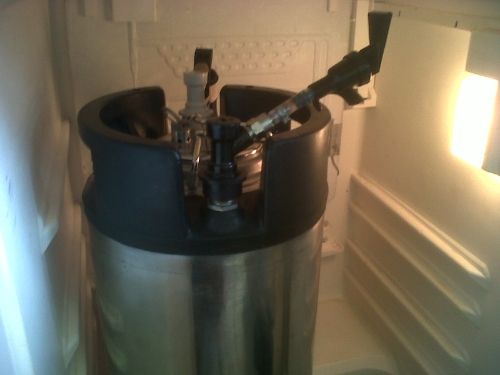
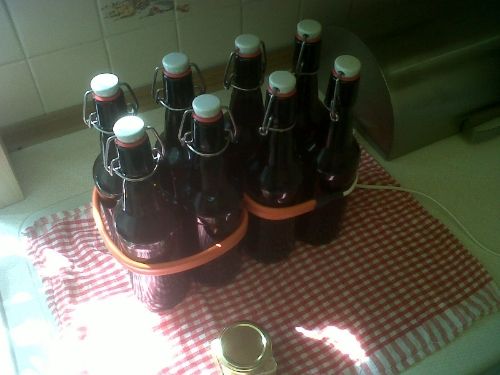
I love my Corny Keg, 19 litres of my brew went into that, which i found out today fits in my fridge. Not much room for my food now but its a sacrifice i'm willing to pay for a cold beer. The rest I put into swing top bottles.
So now I have to wait a couple of weeks, which is the hardest part of home brewing. I had a little taste, whilst siphoning i had a good mouthful and was pleasantly surprised how good it tasted. It smelt really good as well, I can't wait to taste this one, i'm like a child waiting for Christmas.
I'll post in a couple of weeks of how good it tastes.
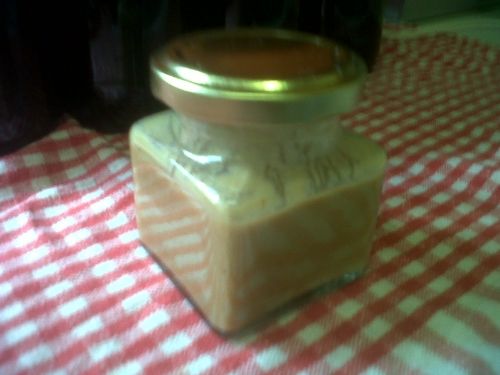
Next brew will be a Rigwelter Style beer. Quite a complicated recipe compared to this one but I'll be well prepared for it next time. I've even experimented in making a yeast wash (yeast cake) from the trub from this batch for the next batch (also inspired by the recent black sheep brewery visit which they've had the same strain of yeast for over a hundred years). Not sure how it will turn out but I like to try these things.
Categories
- All Categories
- 599 Home-Brew-Online Forum
- 233 Welcome To The Forum
- 34 News And Announcements
- 85 Frequently Asked Questions
- 229 General Home Brew Chat
- 11 Your Brewing Blogs
- 532 Beer
- 460 Beer Brewing
- 56 Beer Reviews
- 14 Beer Recipes
- 2 Beginners Video Guides
- 87 Cider
- 82 Cider Making
- 2 Cider Review
- 1 Cider Recipes
- 142 Wine, Liqueurs And Spirits
- 114 Wine Making
- 5 Wine Reviews
- 17 Spirits And Liqueur Making
- 6 Wines And Spirits Recipes
- 50 HBO Ebay Shop Queries
- 6 Queries About My Order
- 11 Returns Policy
- 17 Postage
- 6 Payment
- 9 Placing an order
Comments
Sam
Then you need to cool the wort to room temperature. I use an immersion cooler made from copper. And then you can siphon it into your fermenter.
There is a lot of steps with all grain so I think you should look on jimsbeerkit forum or there are loads of books you can buy. Graham wheeler's is excellent.
Hope this helps for next time!
Sam
And with the mash tun, why not have a go at making one? It's really easy and a lot cheaper than buying one
Cheers,
Sam